Table of Contents
A simple glance at eBay auctions in the sports card realm will reveal exactly why I am writing this guide. It’s 2019 and sellers on eBay are still taking dark, blurry, and just plain poor quality photos of their sports cards. As a buyer, you want to be able to see what it is you are potentially buying. You shouldn’t have to adjust your eye glasses or squint to try see details that could have easily been captured with a little effort from the seller.
As a seller, I know it can be frustrating to try and get quality photos of your cards. When you’re trying to quickly take pictures with good lighting while avoiding glare (especially that pesky overhead glare where you can see yourself in the photo) it can be easy to just give up and settle for a low quality photo. But you don’t have to. Knowing how to take good eBay photos is a skill that can be easily learned.
Why Should I Care About Good Pictures Of My Sports Cards?
Simply put, Good Photos = MORE SALES. And once you learn to make a working setup, you can start taking quality photos consistently and quickly. Ideally, you want your cards to be displayed on auction as you would if they were in your home. You want the buyer to see just how bad-ass your card is and make them feel the urge to buy it. You know that feeling… the same one you had when you bought the card yourself.
What Buyers Want To See
- The Corners – Does your card have corner wear? Are the corners sharp and pristine? Capture it in the photo!
- The Surface – Any dents, nicks, scratches, etc? Make sure your lighting is on point to capture all of the details.
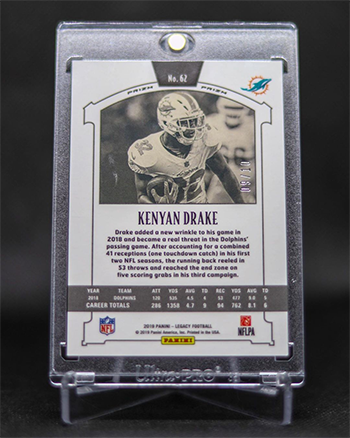
- The Back Of The Card – This should be common sense but you’d be surprised at how many auctions you can find up right now where only the front of the card is pictured. Whenever I see this I instantly assume the seller is hiding something. It could be a scratch or dent on the back of the card or something else. Or they could have innocently forgot. Either way, it results in a lost sale from me.
Eye Test… Which Would You Rather Buy?
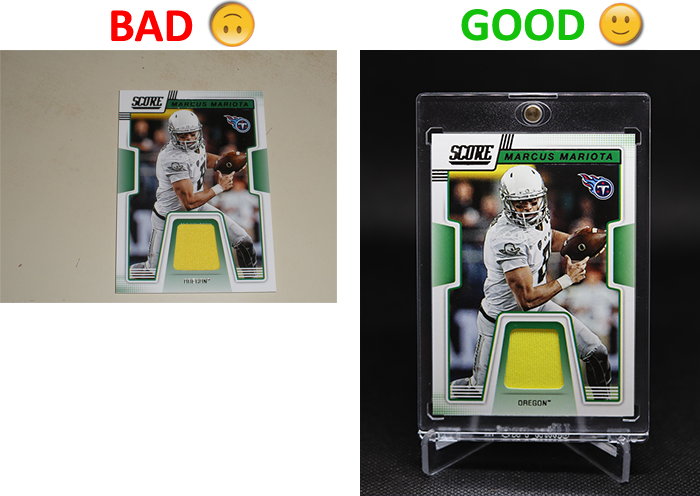
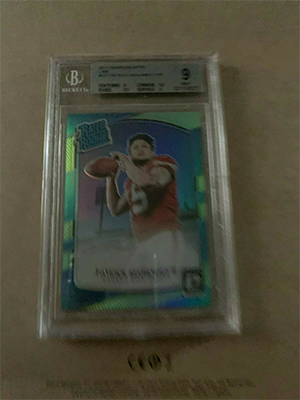
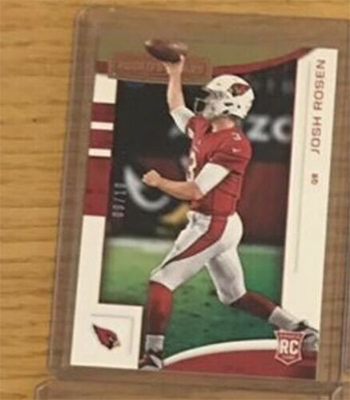
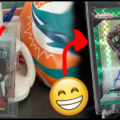
Let’s say you’re in the market for a player-worn (ew) Marcus Mariota Jersey card. You go on eBay and see these 2 cards listed at the same price. The sellers both have 100% positive feedback. Which one are you buying? Are you going to buy the one with the off center photo of a card that looks like it was thrown onto a random counter top with dog hair sticking out from under it? Or are you going to be buying the one on the right that is tastefully displayed on a stand in a one touch magnetic case?
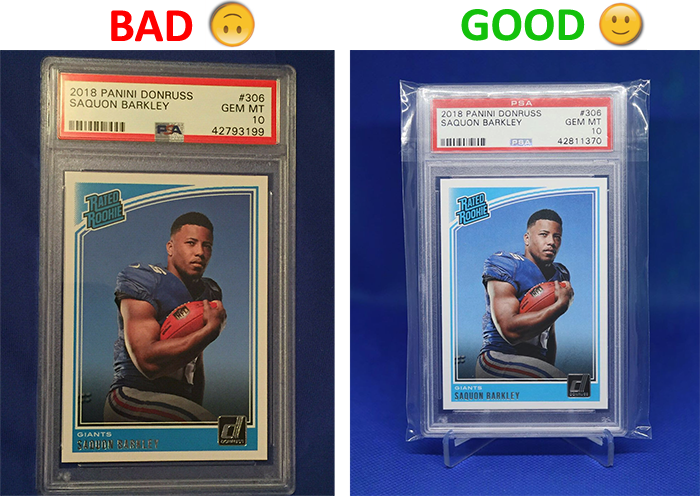
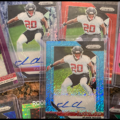
How about this one? While the seller on the left did a good job of not having a cluttered or distracting background, the lighting is poor and even yellowish in color. Improving the lighting and putting the card on a stand makes a world of difference for the product photo.
Both of the photos shown on the left side of the above examples are taken from real live eBay auctions a the time of writing this post. Both photos on the right I took with 2 minutes set up time to prove a point. With my half-ass effort I was able to create eBay photos 10x better than the competition. I purposely chose cards I owned for the example, but there are a TON of cards on eBay with photos WAY worse than these.

The Key Factors In Taking Good eBay Photos
Lighting
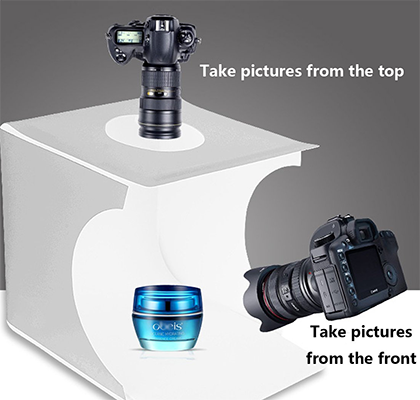
Lighting is probably the most important factor in taking a good photo. Good lighting can make amateur cell phone photos look professional. The best lighting for photos is usually natural lighting, but it can be hard to get full coverage with just natural light. So what do we do? My suggestion is to buy or create a light box.
For sports card photographs, I use a small LED light box I got on Amazon for less than $15. Inside of the box there are 2 LED light strips that provide enough light to easily photograph my sports cards. The product also comes with different colored backdrops that can easily be changed in less than 30 seconds.
You could also invest in a larger light box if you need to take pictures of bigger products as well. Or you could go the route of buying professional photography lights and setting up more of a legitimate studio feel. But for the purposes of this guide all you really need is a small LED Light Box.
Background
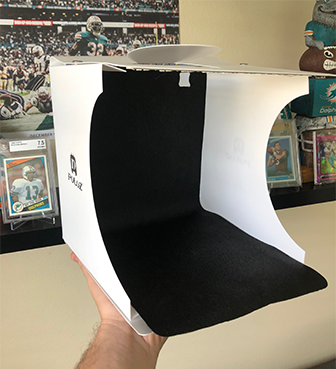
The best background for product photos is a simple one color plain background. Using a white paper, table cloth, shower curtain, etc will all do the trick. Try not to overthink it. You really just want to find a solid, non-textured item to use as a background.
I use simple little colored backdrops that came with the cheap light box I bought on Amazon. The main thing is that you don’t want your background to detract attention from the product itself. Some people like to have patterned backgrounds with wood grain and other things like that. I think plain is the way to go.
You can experiment with different backgrounds as you please. I haven’t tested a ton of different backgrounds to be honest. But my goal is to make the background an afterthought to the buyer. Actually I want everything that’s not the card itself to be an afterthought. I want their eyes super glued to my card and nothing else.
Camera
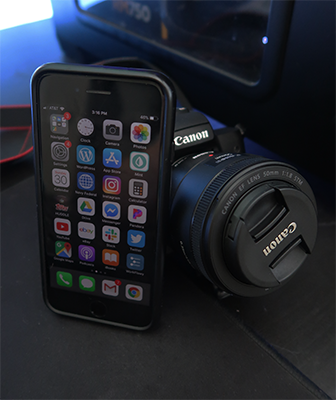
You’re going to want a decent camera for taking eBay photos. Please note that I said decent not amazing. Personally, I use the Canon M50 for most of my photos but that’s a $600 camera. I also don’t use the stock 15-45mm lens that comes with it. I have a 50mm and even a 100mm macro lens ($125 and $800 respectively). I usually use the 50mm though. With that being said, you can very easily get by with one of the newer models of an iPhone or even an Android phone.
The most important thing with a camera is that you can capture high resolution and in focus photos of your product. Sure, the bokeh added to the background from using a nicer camera and lens is nice but it is not necessary.
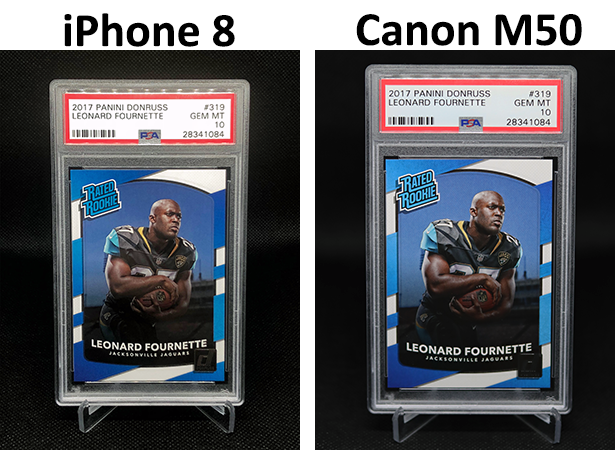
Having proper lighting will help make it easier on whatever camera you use and you should be able to take some really good product photos with whichever camera you decide to use. A lot of people cannot even tell the difference between a photo taken with a real camera or a phone. Here’s an example of a photo taken with my iPhone 8 vs my Canon M50:
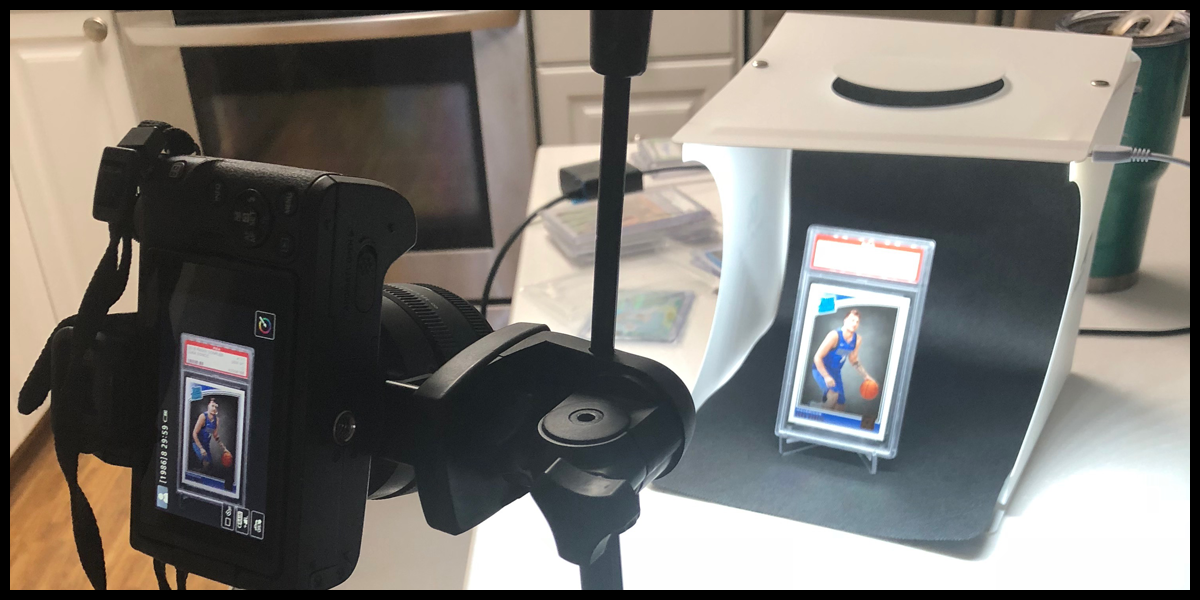
My Setup For Taking Awesome Ebay Photos
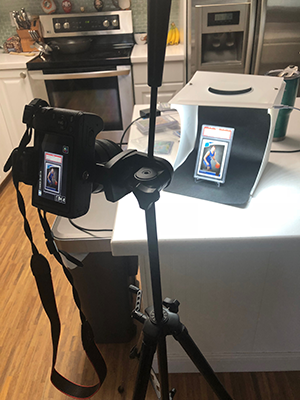
Now it’s time to reveal how I take my product photos for eBay. I’ve already loosely detailed just about every piece of my setup throughout this guide. But here it is all in one place in a list format. For taking awesome eBay photos, I use the following:
- Cheap LED Light Box ($15 amazon)
- Simple plain colored backgrounds (included with Light box)
- BCW Sports Card Stand
- Canon M50 Camera ($599 on Amazon) OR just use your cell phone!
- Cheap Tripod for steady images (optional)
That’s really all there is to it. If you don’t count the camera and you just use your cell phone, you could have your own setup for well under $30. There is seriously no excuse to have bad eBay photos in 2019. The amount of technology that everyone already holds in their hands daily is more than enough to achieve respectable quality photos. No need to overthink it and buy expensive complicated setups. Keep it simple and get the job done right!
Did this guide help you? Do you take your photos a different way? Leave a comment below with your tips, tricks or experiences!


Hi there – great guide. Quick question for you: how do you avoid the reflections of the LED strips coming off the slab into the photo? I’ve tried from different angle, and the slab seems to reflect that light strip like a mirror. Appreciate the help!